Implementing Real-time Location Updates on Google Maps in Flutter Apps
Google Maps is a powerful tool that can be used to display maps, get directions, and find businesses. In Flutter, you can use the Google Maps plugin to add Google Maps to your apps.
One of the most popular features of Google Maps is the ability to track the user’s location in real-time. This can be used to create apps like ride-hailing apps, delivery apps, and fitness-tracking apps.
Prerequisites
Before you can start implementing real-time location updates, you will need to have the following:
- A Google Maps API key. You can get a free API key from the Google Maps Platform website: https://developers.google.com/maps/get-started.
- A Flutter development environment. You may use Android Studio: https://developer.android.com/studio/.
Installing the Google Maps Plugin
Once you have your API key, you must install the Google Maps plugin. You can do this by running the following command in your terminal:
flutter pub add google_maps_flutterImporting the Google Maps Plugin
Once you have installed the Google Maps plugin, import it into your Flutter project. You can do this by adding the following line to your pubspec.yaml file:
dependencies:
  google_maps_flutter: ^2.0.1
Then, you need to import the plugin into your Flutter code. You can do this by adding the next line to your main.dart File:
import 'package:google_maps_flutter/google_maps_flutter.dart';Creating a Map
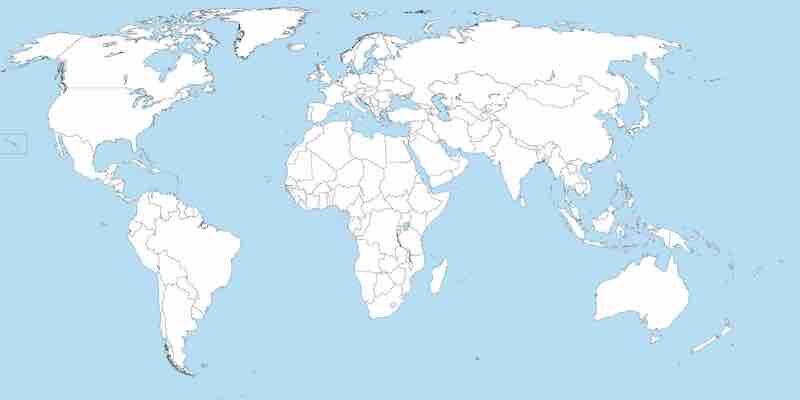
You can start creating maps now that you have imported the Google Maps plugin. The following code will create a basic map of the world:
import 'package:flutter/material.dart';
import 'package:google_maps_flutter/google_maps_flutter.dart';

void main() {
  runApp(MyApp());
}

class MyApp extends StatelessWidget {
  @override
  Widget build(BuildContext context) {
    return MaterialApp(
      home: Scaffold(
        body: GoogleMap(
          initialCameraPosition: CameraPosition(
            target: LatLng(0, 0),
            zoom: 2,
          ),
        ),
      ),
    );
  }
}
This code will create a world map with a zoom level of 2 and a center point of (0, 0).
Adding a Location Listener
You must add a location listener to the map to track the user’s location in real-time. The following code will add a location listener to the map:
import 'package:flutter/material.dart';
import 'package:google_maps_flutter/google_maps_flutter.dart';

void main() {
  runApp(MyApp());
}

class MyApp extends StatefulWidget {
  @override
  _MyAppState createState() => _MyAppState();
}

class _MyAppState extends State<MyApp> {
  GoogleMapController mapController;
  LocationData currentLocation;

  @override
  void initState() {
    super.initState();
    // Add a location listener to the map.
    mapController.onLocationChanged.listen((location) {
      setState(() {
        currentLocation = location;
      });
    });
  }

  @override
  Widget build(BuildContext context) {
    return MaterialApp(
      home: Scaffold(
        body: GoogleMap(
          mapType: MapType.normal,
          initialCameraPosition: CameraPosition(
            target: LatLng(0, 0),
            zoom: 2,
          ),
          onMapCreated: (controller) {
            mapController = controller;
          },
        ),
      ),
    );
  }
}
This code will add a location listener to the map. The location listener will be called whenever.
- respireartrilhas.com.br/doughboys-yks-bbyoh/how-to-open-google-map-from-flutter-app-af0d06
- github.com/Arremal/FLUTTER_DELIVERY_MOV
- stackoverflow.com/questions/54224567/how-to-integrate-with-google-maps-in-flutter
- github.com/Kavit900/flutter-google-maps-api-tutorial